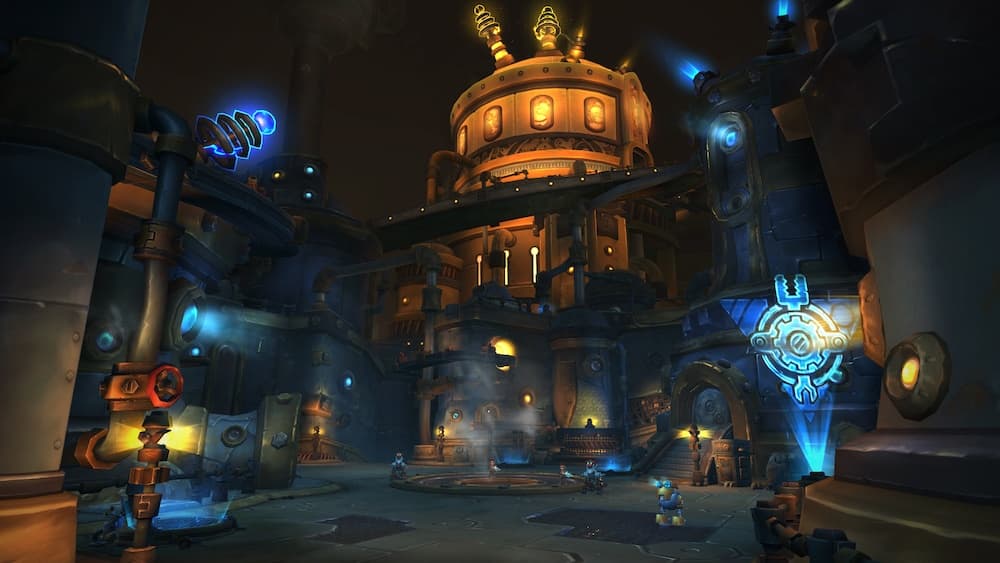
Operation Mechagon
This is a community curated resource. If you want to contribute, click here
Go Back
Choose your roles:
Trash
- On the first pull you can theoretically full pull whole room if you have enough CCs and interrupts for Bomb Tonk's
 Detonate. However, usually, the time saved is not worth the risk.
 - Use
 Solar Beam on Bomb Tonk's Detonate casts and try to not overlap it with other interrupts.
 - Junkyard D 0 G: Use defensive cooldowns at 2-3 stacks of
 Fiery Jaws.
 - You can use
 Ursol's Vortex to prevent Junkyard D 0 G from jumping with Fiery Jaws.
 - Don't focus the Workshop Defenders. They spawn Shield Generators that will cast
 Shield Generator which provides a 75% DR if you stand in it.
 - You can skip the second to last pack on last platform with stealth by walking around to the right.
The Platinum Pummeler
- Bait bombs away from melee.
- For avoiding Gnomercy 4 U's attacks you can use
 Wild Charge relatively fast, but be careful of the bombs.
K.U.-J.0
- Get a dungeon weakaura pack with an indicator that tells you if you are safe from
 Venting Flames. Box angles are fake and you can cast while protected.
 - You can't
 Shadowmeld
  Explosive Leap so don't bait it on the boxes.
Head Machinist Sparkflux
-
 Self Trimming Hedge can one shot, but at 660 ilvl in a +10 you drop to about 20% health.
 - All damage except for
 Hidden Flame Cannon is avoidable.
King Mechagon
-
 Mega-Zap can be Shadowmelded, otherwise use defensive cooldowns.
  Magneto Arm has fall-off damage. Position yourself on the opposite side of the arm, but in melee range.